Saturday, August 17, 2013

this blog...

Hi.

I'm Kara and I really like to cook.

This blog is a compilation of lots of recipes I have tried or created over the years.  I hope you enjoy it.  I hope it inspires you.  And I hope you try some of the recipes too!  If you do, leave me a comment! Or if you have a question about a recipe, leave me a comment.  This blog is officially published in 2013, and contains posts from several years ago as a sort-of food journal, or record of some of my food ideas.  Check back often as I'm sure I will keep adding old posts as I find time.  Here's some pictures of foods to come...

 Ryan's Favorite Chicken Pasta
\
Scotch-e-roos

 Green Beans & Potatoes in Chunky Tomato Sauce

Mason Jar Salads
BBQ Ranch Chicken Salad, Fuji Apple Salad, Greek Salad, Chef Salad

Mama Well's Sugar Cookies

Gingerbread Cookies

 Pita Bread & Chicken Gyros

Homemade Doughnuts

 In A Hurry Chicken Curry with Steamed Vegetables

Super Easy Fruit Pies

Saturday, March 10, 2012

Bruschetta


My friends ask me to make this alot.
Ryan and I love to make this alot.
So, here's the recipe... straight out of Better Homes & Garden's cookbook - one of the best wedding gifts ever!

Bruschetta
     -1 Tbsp. olive oil
     -1 Tbsp. fresh snipped chives
     -1 Tbsp. fresh snipped basil
     -1 Tbsp. lemon juice
     -1 clove garlic, minced
     -2 cups chopped roma and/or yellow tomatoes (3-4 medium tomatoes)
     -1/2 cup finely chopped red onion
     -salt and freshly ground black pepper
     -1 8-ounce loaf baguette-style French bread, cut into 1/2 inch slices and toasted
     -fresh basil (optional)
*In a medium bowl stir together olive oil, chives, basil, lemon juice and garlic.  Add tomato and onion; toss to coat.  Season to taste with salt and pepper.  Set aside.
*To serve, with a slotted spoon, spoon tomato mixture onto each warm toast slice.  If desired, garnish with fresh basil.  Serve within 30 minutes (or immediately) for best results and taste.

Saturday, December 17, 2011

tons of other baby foods

Sweet Potatoes
       -2 large Sweet Potatoes
       -1/4 cup water
*Wash and peel sweet potatoes.  Simmer in boiling water (stir occasionally) approximately 20 minutes, or until potatoes are soft and fall apart when poked with a fork.
*Drain and add to baby bullet along with 1/4 cup of water.  Puree using the Baby Blend Blade.  
*Test the consistency of the sweet potatoes - if you'd like it thinner, add more water.
*Once consistency is achieved, pour into storage cups or ice cube trays to refrigerate or freeze as desired.  (Sweet Potatoes keep in the fridge for 3 days, and are best used within 30 days of freezing.)


 He's excited about this dinner of rice cereal, peas, and sweet potatoes...

 ...but this look shows what he really thinks about the combination!


Applesauce
       -Several fresh apples (using organic apples are always best!)
*Wash and peel apples if desired.  (Peels blend up very well in the Baby Bullet and will not cause choking - leaving peels on turns the applesauce red or green depending on the color of the skin versus the yellow creamy color of peeled apples.  I suggest introducing peeled apples to your baby first, and then trying a batch with the skins left on.)
*Simmer in boiling water (stir occasionally) approximately 15 minutes, or until apples are soft and fall apart when poked with a fork.
*Drain and add to baby bullet - apples contain their own juice so adding water is not necessary, but will make the sauce thinner.  (If adding water, I suggest adding the water you boiled the apples in as it contains the flavor of the apples.)  Puree using the Baby Blend Blade.
*Test the consistency of the apples - if you'd like it thinner, add more water.
*Once consistency is achieved, pour into storage cups or ice cube trays to refrigerate or freeze as desired.  (Apples keep in the fridge for up to 3 days, but may brown if not eaten right away.  Apples are best used within 30 days of freezing and if thawed and eaten immediately, browning will be avoided.)


Somebody is excited about applesauce!

Pears
       -Fresh, ripe, organic pears (red, green, yellow - even a combo of them all!)
       -1/4 cup water
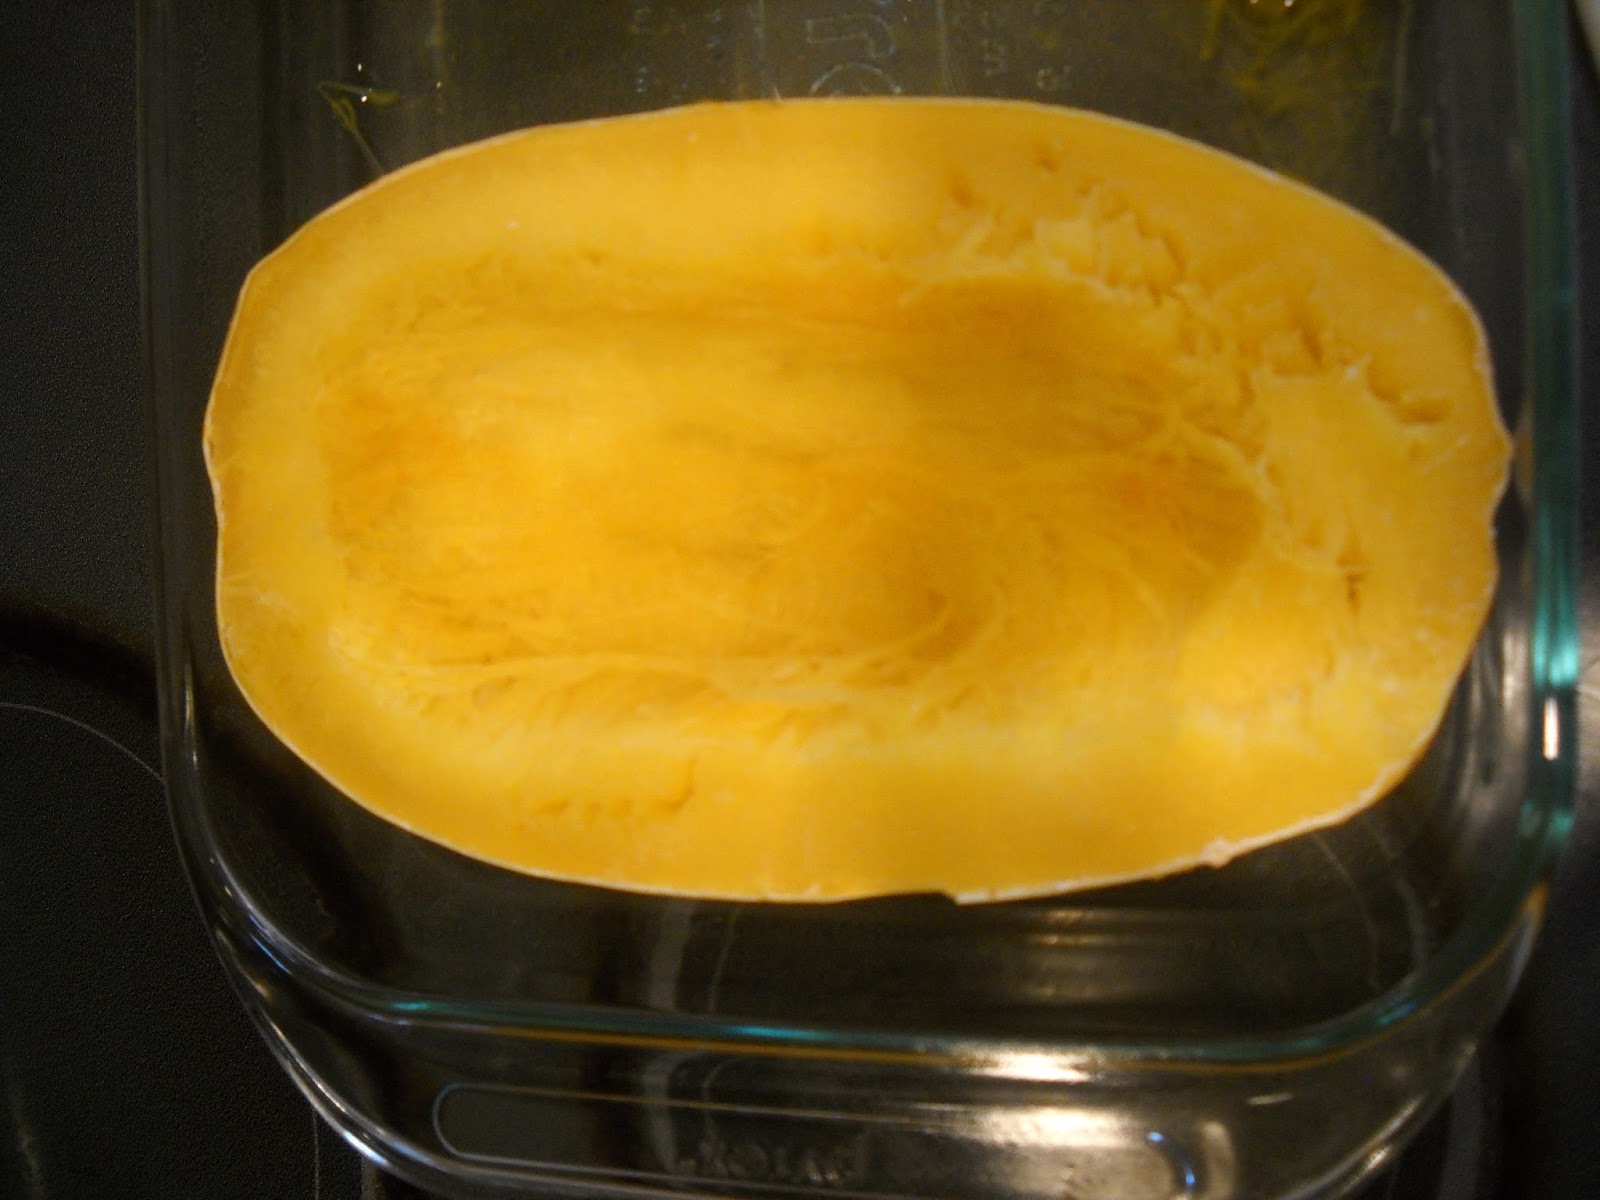
*Wash and peel sweet pears.  
*Add to baby bullet along with 1/4 cup of water.  (Make sure your pears are ripe and very soft or the puree process will be difficult.  If you purchased hard pears, either allow to ripen at room temperature a day or so as this will cause the pear to soften or steam your pears in boiling water until soft.)  Puree using the Baby Blend Blade.  
*Test the consistency of the pears - if you'd like it thinner, add more water.
*Once consistency is achieved, pour into storage cups or ice cube trays to refrigerate or freeze as desired.  (Pears keep in the fridge for 3 days, and are best used within 30 days of freezing.)


pears ready to be pureed 


Carrots
       -1 bag organic baby carrots (or other carrots washed and peeled)
       -1/4 cup water
*Simmer carrots in boiling water (stir occasionally) approximately 20 minutes, or until carrots are soft and fall apart when poked with a fork.
*Drain and add to baby bullet along with 1/4 cup of water.  Puree using the Baby Blend Blade.
*Test the consistency of the carrots - if you'd like it thinner, add more water.
*Once consistency is achieved, pour into storage cups or ice cube trays to refrigerate or freeze as desired.  (Carrots keep in the fridge for 3 days, and are best used within 30 days of freezing.)


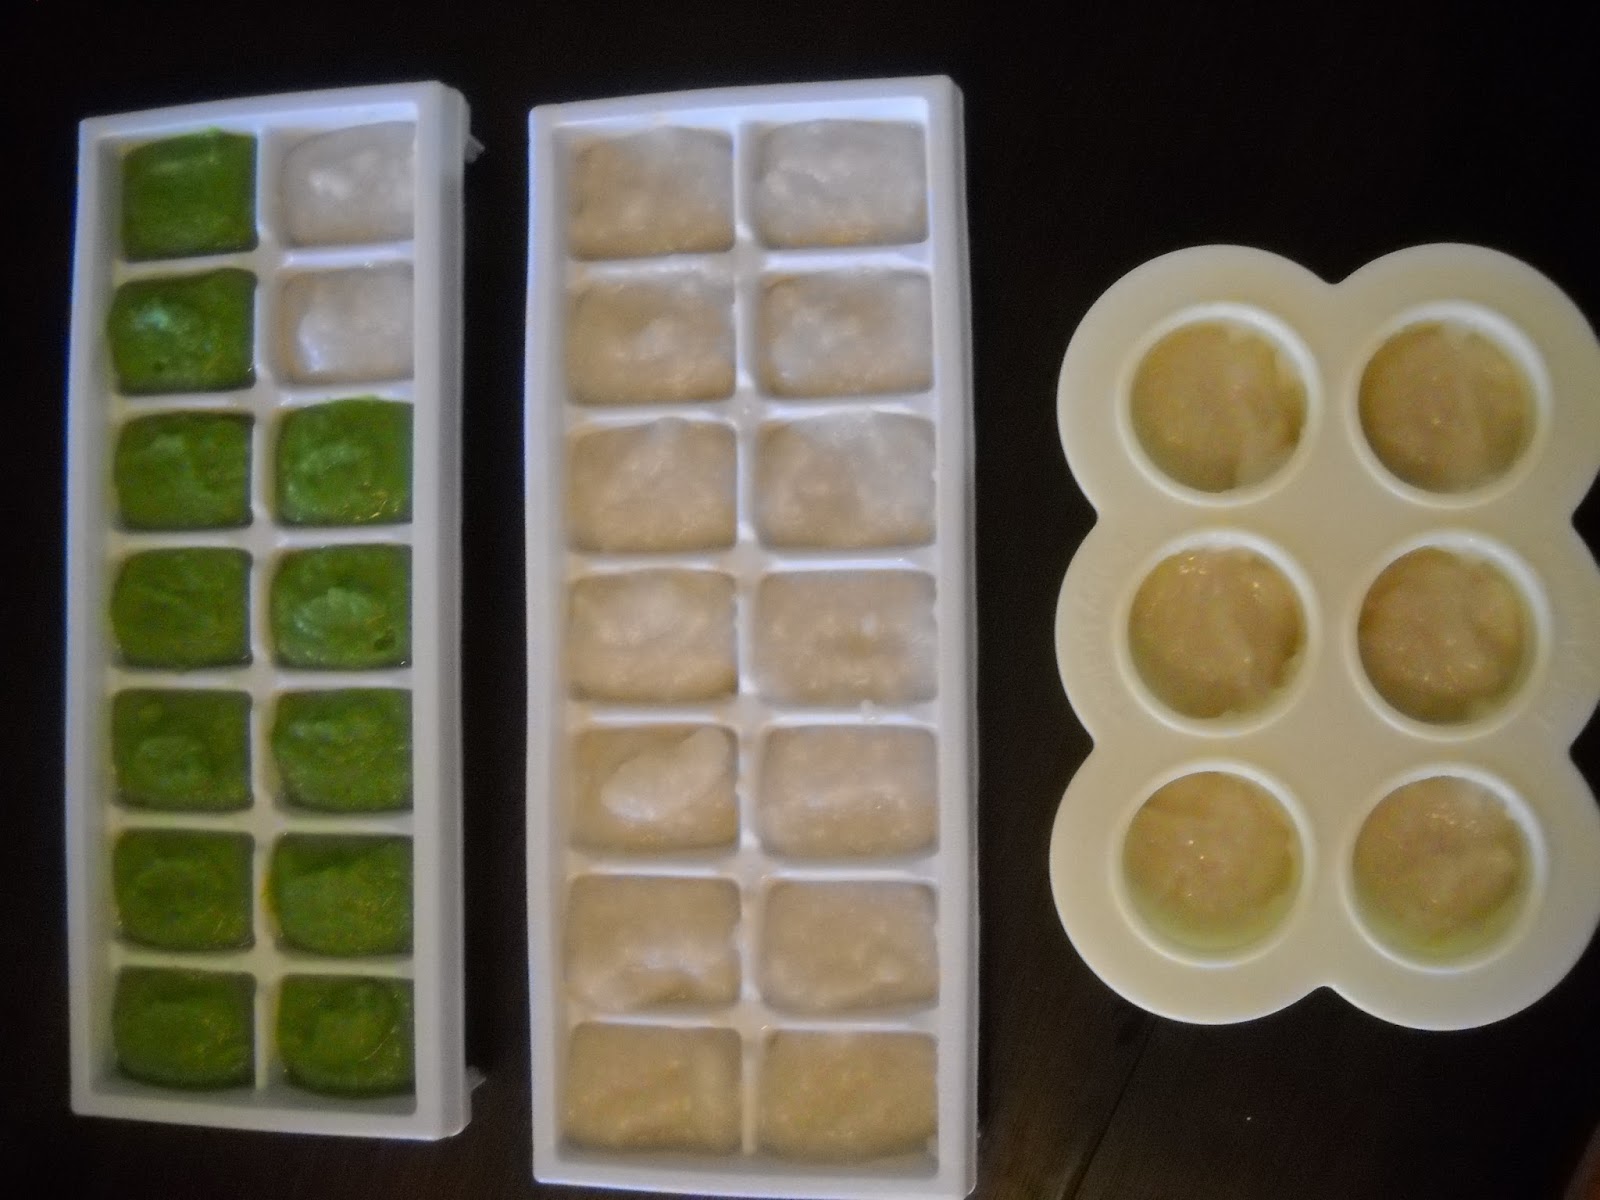
 this ice cube tray is full of pears and carrots, ready to be wrapped and frozen!

Broccoli
       -1 bag frozen broccoli (or fresh organic broccoli)
       -1/4 cup water
*Steam or Simmer in boiling water until cooked thoroughly.  
*Drain and add to baby bullet along with 1/4 cup of water.  Puree using the Baby Blend Blade.  
*Test the consistency of the broccoli - if you'd like it thinner, add more water.
*Once consistency is achieved, pour into storage cups or ice cube trays to refrigerate or freeze as desired.  (Broccoli keeps in the fridge for 3 days, and is best used within 30 days of freezing.)
              *Broccoli is an excellent puree to add to rice cereal*


 a tray full of broccoli

 look at those sweet little green fingers!
somebody ate all of his broccoli!

not sure what he's chowing, but this kid loves his vegetables and he loves to eat!

*I freeze my cubes of baby food in ice cube trays wrapped with plastic wrap.  I then transfer to gallon sized freezer bags when frozen in order to use my trays to make more baby food in advance.  To serve I pop cubes into bowls the night before in fridge so they thaw, then I minimally heat in the microwave prior to serving.*

Friday, October 21, 2011

squash

Squash
       -1 whole Spaghetti or Butternut Squash
       -1/4 cup water
*Wash squash and cut in half length-wise.  Scoop out seeds and lay facing down in a 9x13 glass baking pan filled half-way with water.
*Bake squash at 350 degrees for approximately 2 hours, or until squash is soft.
*Remove from pan and allow to cool slightly.  Scrape out squash and add to baby bullet.  Add 1/4 cup water to the baby bullet and puree using the Baby Blend Blade.  If the squash is still very warm, water may not be necessary to add in order to puree.
*Test the consistency of the squash - if you'd like it thinner, add more water.
*Once consistency is achieved, pour into storage cups or ice cube trays to refrigerate or freeze as desired.  (Squash keeps in the fridge for 3 days, and is best used within 30 days of freezing.)


Above: Whole Spaghetti Squash


 This little dude LOVES squash.


*I freeze my cubes of baby food in ice cube trays wrapped with plastic wrap.  I then transfer to gallon sized freezer bags when frozen in order to use my trays to make more baby food in advance.  To serve I pop cubes into bowls the night before in fridge so they thaw, then I minimally heat in the microwave prior to serving.*

Monday, October 17, 2011

baby's first foods

I am a huge fan of the Baby Bullet.
It was probably the most useful baby gift I was given for Asa!
If you don't have one, seriously check it out and consider getting one.  

When we first introduced formula to Asa, we really struggled with a finding a brand that wouldn't cause a rash.  When I began to introduce rice cereal, every box and brand I tried again gave him a rash.  I started reading box ingredients to see if there was one that would stand out to me as the rash-causer, and I was shocked at all of the un-natural ingredients included in baby cereals.  No offense, Gerber, but reading all the labels made me wonder why the ingredients couldn't just be "rice and water".  Right around that time I was given a Baby Bullet and decided to start experimenting making my own natural, organic baby food.  The first thing I made was "rice cereal" - and literally, that's all it was.  Rice and water.  Surprisingly (or maybe not surprisingly), Asa loved it and no rashes occurred!  I was elated.  And so excited about this new homemade baby food that I decided I would make all of Asa's baby food naturally and not purchase any jar food - ever.  And so, that's exactly what I did.  

On this blog I will record baby foods I made and introduced to Asa - to remember for babies to come, and hopefully to encourage others to make your own baby food.  It's very easy and fun and seriously saved us some major dollars on store-bought baby foods!

Here are some of our firsts... 


Brown Rice Cereal
       -1/4 cup rice
       -1 3/4 cup water
*Add rice to the short cup and using the milling blade, mill to a fine powder.
*Add milled rice and water to a pot and cover until it boils.  Stir occasionally so that the rice doesn't clump or stick to the bottom of the pan.  Once it boils, turn heat to low and cook covered for 20 minutes.
*Pour into a bowl and whisk until smooth.  Test the consistency of the rice cereal - if you'd like it thinner, add more water.
*Once consistency is achieved, pour into storage cups or ice cube trays to refrigerate or freeze as desired.  (Rice cereal keeps in the fridge for 3 days, and is best used within 30 days of freezing.)
*Note - This is a great cereal to combine with any fruit or vegetable puree. 


Above: Two trays for the freezer ready to be wrapped in plastic wrap - peas and rice - and a batch tray for the fridge to be consumed within 3 days.  I freeze my cubes then transfer to gallon sized freezer bags in order to make more baby food in advance.  To serve I pop cubes into bowls the night before in fridge so they thaw, then I minimally heat in the microwave prior to serving.


Peas Baby Food (One of Asa's favorites!)
       -1 cup steamed frozen or steamed fresh peas
       -1/4 cup of water
*Add both ingredients to the Short Cup and using the Baby Blend Blade puree until you've achieved the proper smoothness.  (The longer you blend, the smoother the peas become.) 
*Add less water for thicker baby food and more water for a thinner puree.
*Once consistency is achieved, pour into storage cups or ice cube trays to refrigerate or freeze as desired.  (Peas keep in the fridge for 3 days, and are best used within 30 days of freezing.)


Saturday, July 25, 2009

'akl sinni

I love cooking.  Especially unique ethnic foods.  And especially for my hot boyfriend.  Here's my favorite dish that I was taught by an incredible Egyptian cook, Kareema, when I lived in Cairo, or should I say, Al'Qahira.  :)

'Akl Sinni (arabic for Sweet Food)
     -2 boneless skinless chicken breasts, cubed
     -1 tsp. lemon juice
     -3 peppers: 1 red, 1 green, 1 orange or yellow
     -1 cup shredded carrots
     -2 Tbsp. olive oil
     -1 Tbsp. minced garlic
     -1 Tbsp. ground coriander
     -2 Tbsp. sugar
     -1 tsp. salt
     -1/2 tsp. pepper
     -cooked spaghetti noodles
*Brown chicken cubes in 1 Tbsp. olive oil and lemon juice until cooked thoroughly and browned.
*In separate pan heat 1 Tbsp. olive oil and then add minced garlic.  Cook and stir constantly about 30 seconds then add peppers, carrots, and remainder of spices.  Cook and stir until vegetables and soft and start to brown.  
*Add chicken and stir together.  Serve hot over warm spaghetti noodles.